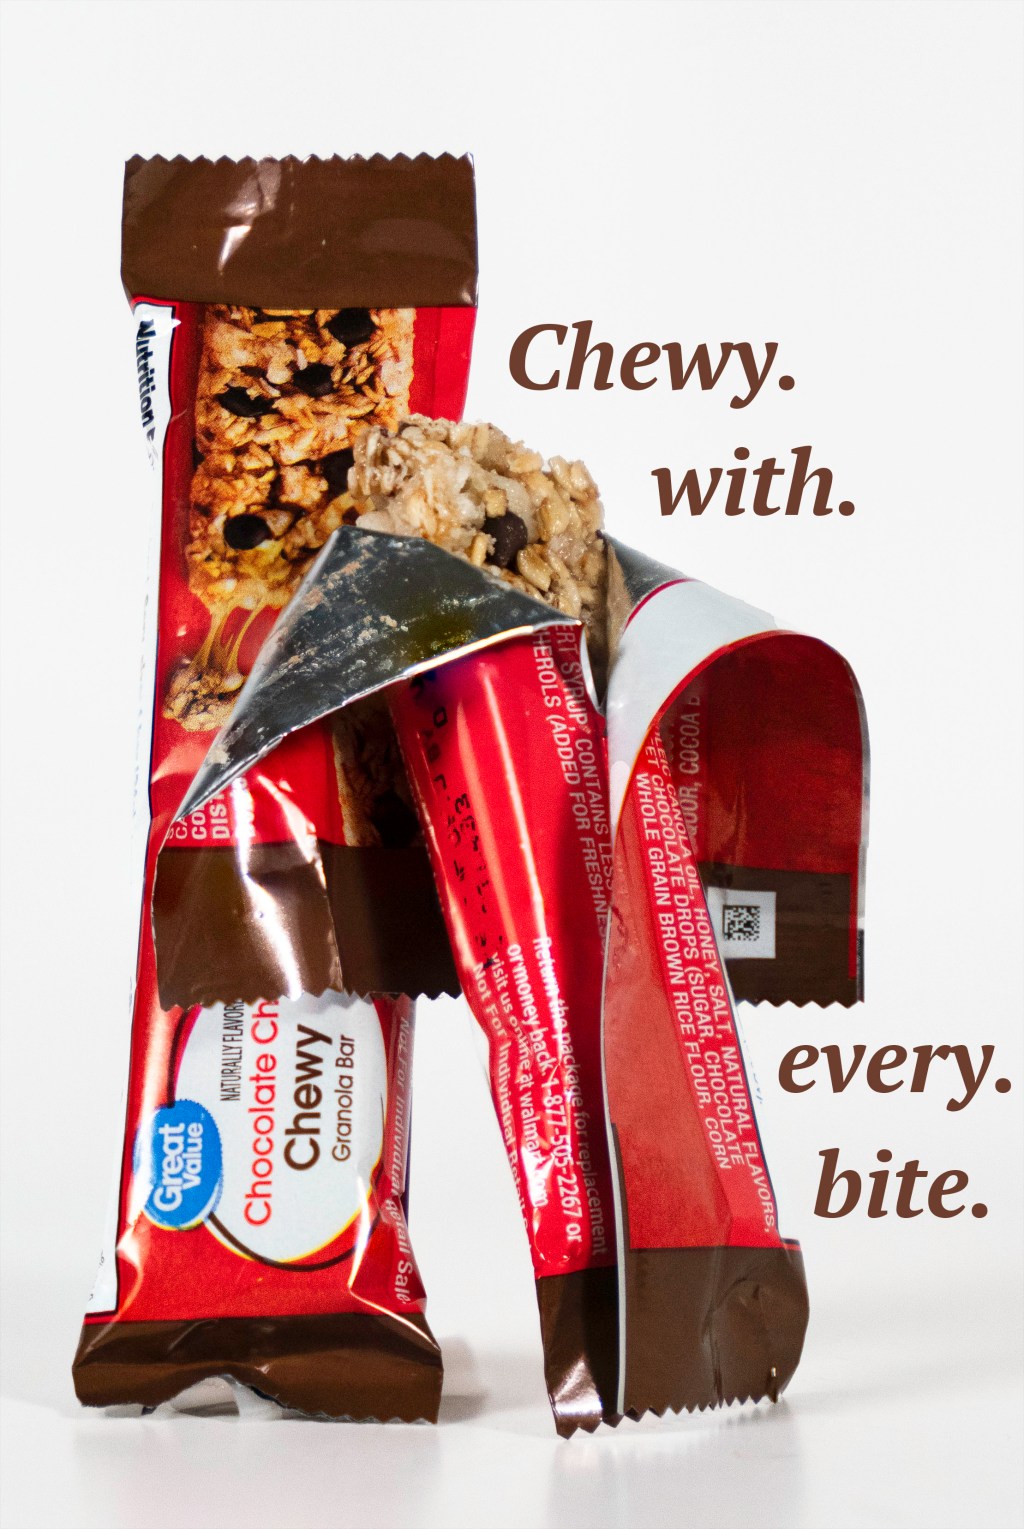
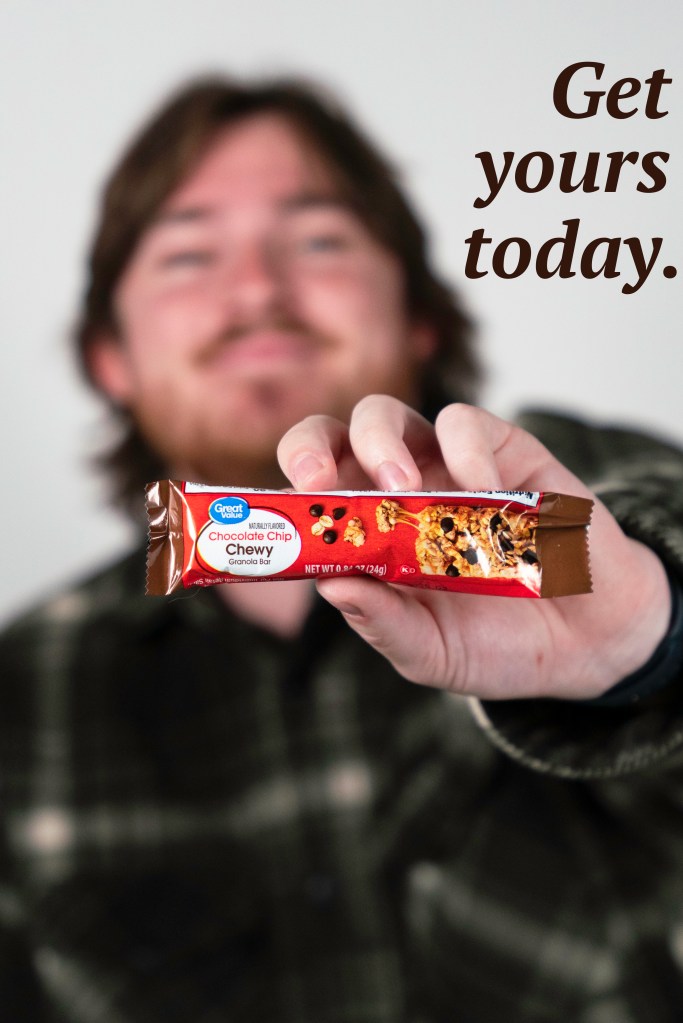
I chose to do a shoot of this granola bar to try out a product shoot. I had it set up with two lights at a 45-degree angle and had the product set up on a seamless stand. The actual shoot was pretty straight forward, although for the first two photos I took multiple pictures with the same framing but with different focus points. This allowed me to get close to the product to get detail but have the entire product in focus. I achieved this by aligning the layers in Photoshop and then blending them together. This brought out the focused points in each image to create an entirely focused product.
Aside from the aligning and blending, I did basic brightness adjustments and added text layers to the image. I used a couple clipping masks, which allowed me to apply an adjustment just to the layer directly below.
In this image I also did the focus stacking, which allowed me to bring out the focus points of the whole bar. In this image specifically, I made the background a more true white, and I brightened up the bar to make it pop.
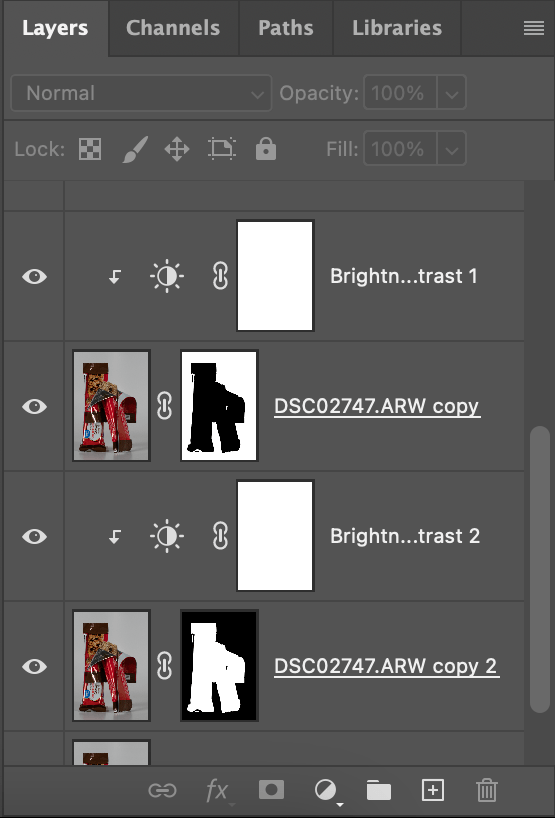
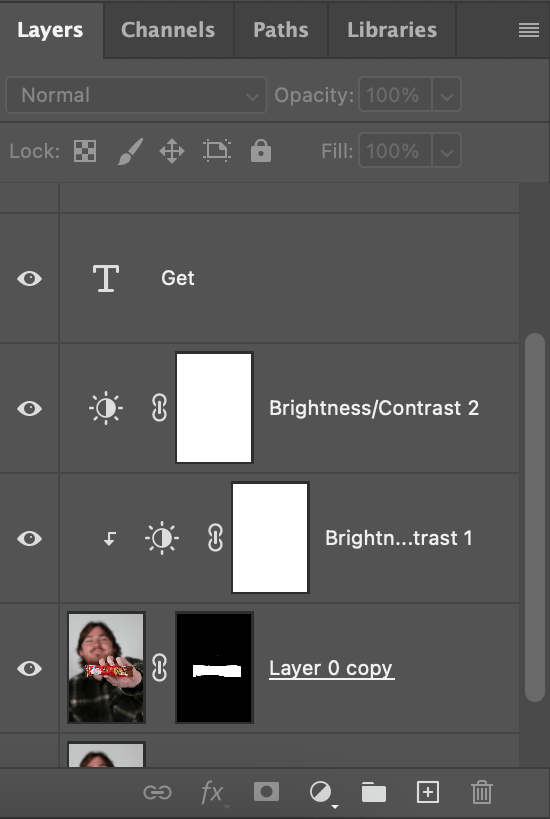
Here is a list of layers I used on the previous image. Photoshop is all about using masks to adjust certain parts of the image.
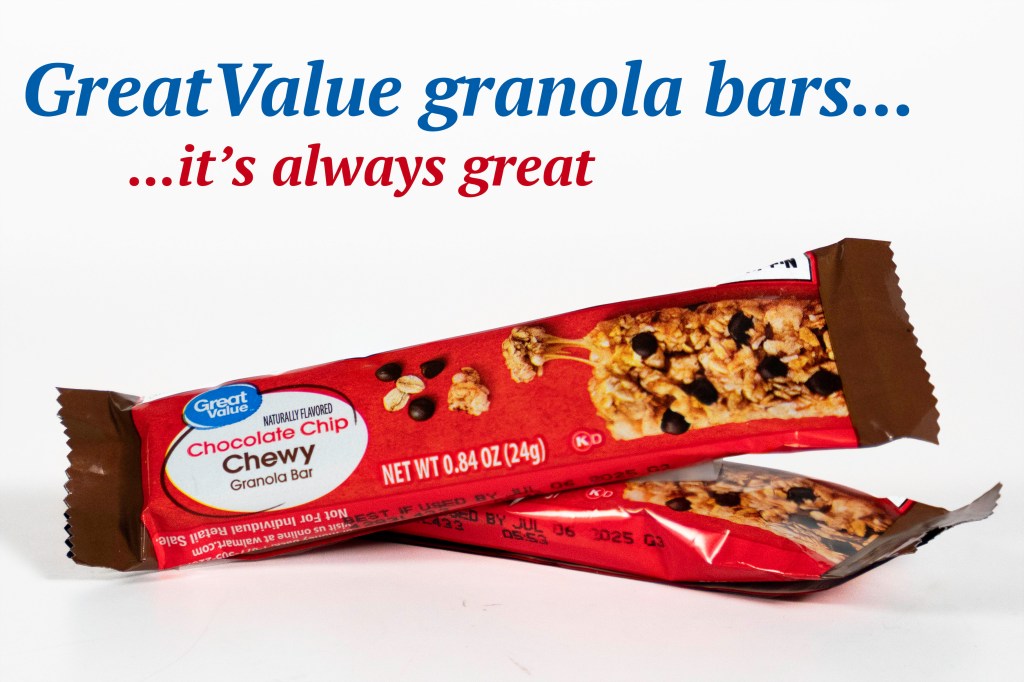
For the last image here, I did not have to focus stack since the bar was on one plane. I just focused on the bar and had plenty of bokeh behind the product.
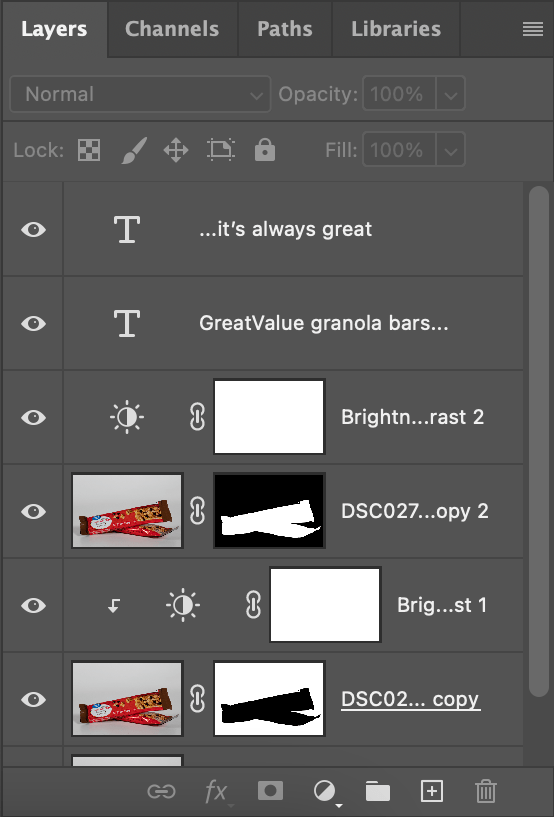
Lastly, I did very similar layers to the previous images. Masking the parts of the image I want to either edit or hide, and then making brightness adjustments. Overall, this was a fun shoot; focus stacking was the most helpful tool I used throughout this project.

Leave a comment