
For both of these photos, I began by applying global tone and presence adjustments in Adobe Lightroom Classic. I used these adjustments as a basic first edit to make the images properly exposed and looking how I wanted them. I then added some local adjustments by adding masks to brighten up the subject and darken the background.
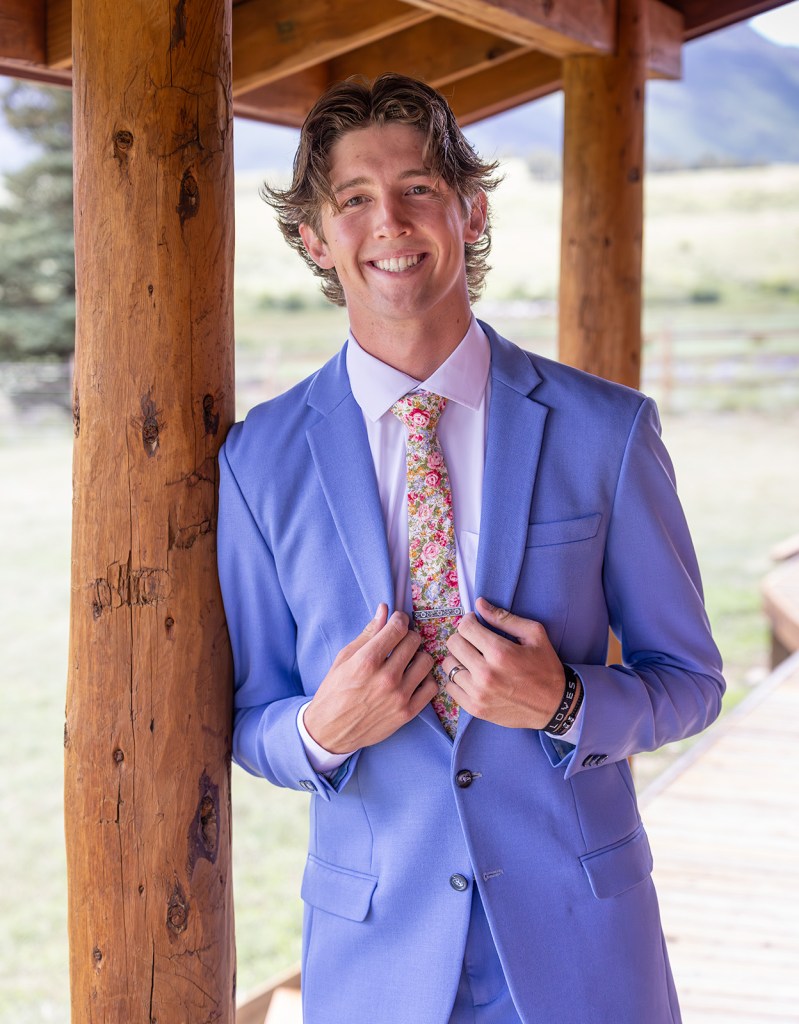
After editing in Lightroom, I sent the photos to Adobe Photoshop to do some final edits. I did some healing with the “Spot Healing Brush tool” and the “Clone Stamp tool” to remove any unwanted blemishes. I then proceeded to remove a window from behind the bride to make the background more cohesive. When using Photoshop’s pixel healing and manipulation tools, there are always a million ways to do one thing. What I recommend is to try a few different tools within the first 5 minutes of editing your image to see which does the job quickest.

Leave a comment